

How Professionals Prep a Room for Interior Painting
Anyone can buy a roller and a gallon of paint, but achieving a clean, even finish requires a level of detail that happens long before the paint can is opened. In professional painting, the secret is always in the preparation.
At Cedar & Sky, we don't cut corners. Here is how we ensure lasting results when painting your home.
1. Protecting the Space
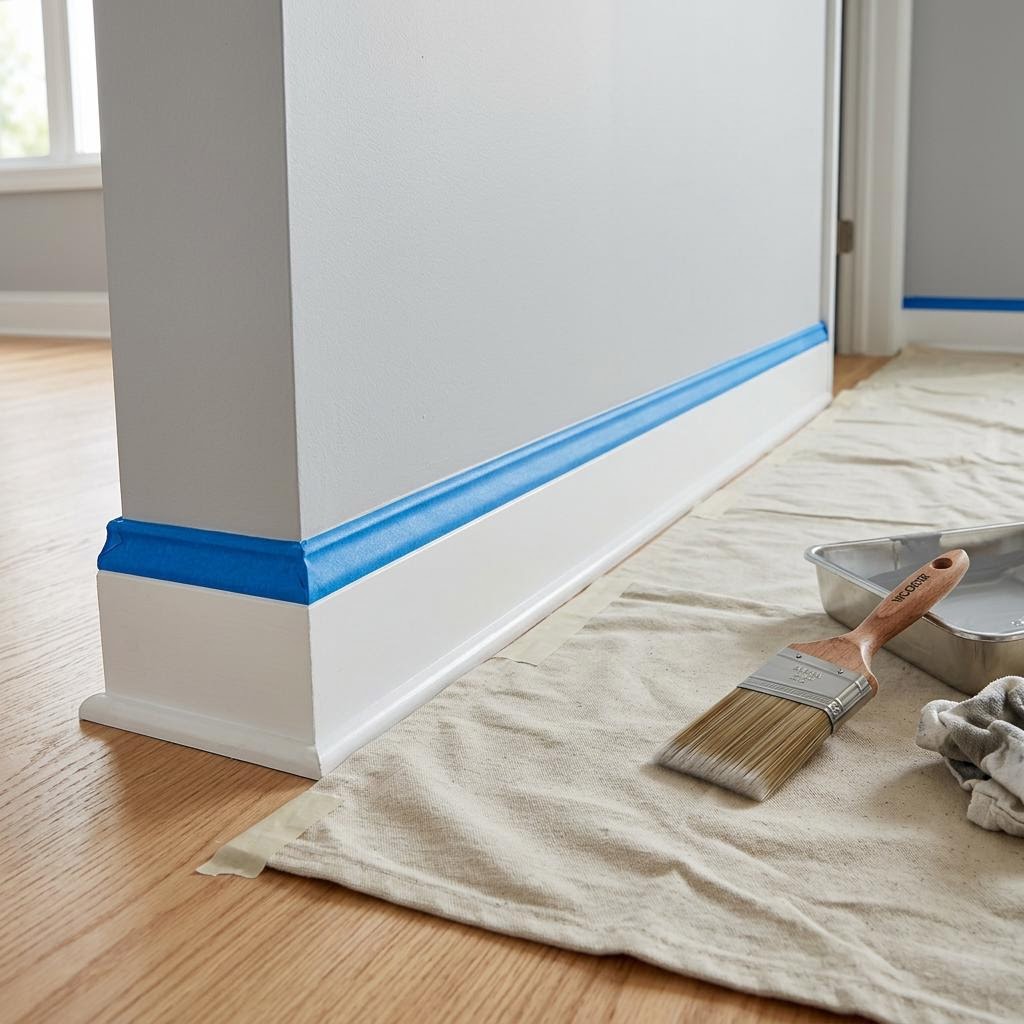
Care and respect for your home is our primary concern. We begin by removing all switch plates and outlet covers, as we never simply tape over them. Furniture is moved to the center of the room and draped in clean plastic. The floors are covered entirely with heavy canvas drop cloths, ensuring no errant splatters reach your flooring.
2. Surface Evaluation and Cleaning
Paint will not adhere to a dirty or greasy wall. We wipe down walls, particularly in high-touch areas like kitchens or near light switches. We inspect the drywall for nail pops, dents, and old anchors.
3. Patching and Sanding
We fill every hole and imperfection with a high-quality spackling compound. Once dry, these areas are sanded completely smooth. This step is often repeated; we shine a harsh work light parallel to the wall to reveal any remaining ridges or divots, patching and sanding again until the surface is flush.
4. Caulking Trim
Over time, the caulking between baseboards, crown molding, and the wall can crack as the house settles. We scrape out old, failing caulk and apply a fresh bead of paintable acrylic caulk. This creates the crisp, unbroken lines that define a professional job.
5. Taping and Masking
We use quality edge-lock painter's tape along baseboards, window casings, and ceiling lines where necessary. We press the tape down firmly to ensure paint cannot bleed underneath.
6. Priming
Spot priming is essential over any patched areas to ensure the final coat doesn't flash (appear duller than the surrounding wall). If we are making a drastic color change, like painting a dark navy wall to a soft cream, we apply a full coat of high-hide primer to ensure true color representation.
Only after these six steps are complete do we begin to paint. It requires patience and attention to detail, but that commitment to preparation is what makes the difference. The result is a room that feels entirely renewed.